cablabel S3 version 1.4.0.8

This version of cablabel S3 mainly brings some corrections, which are detailed in the release notes.

About

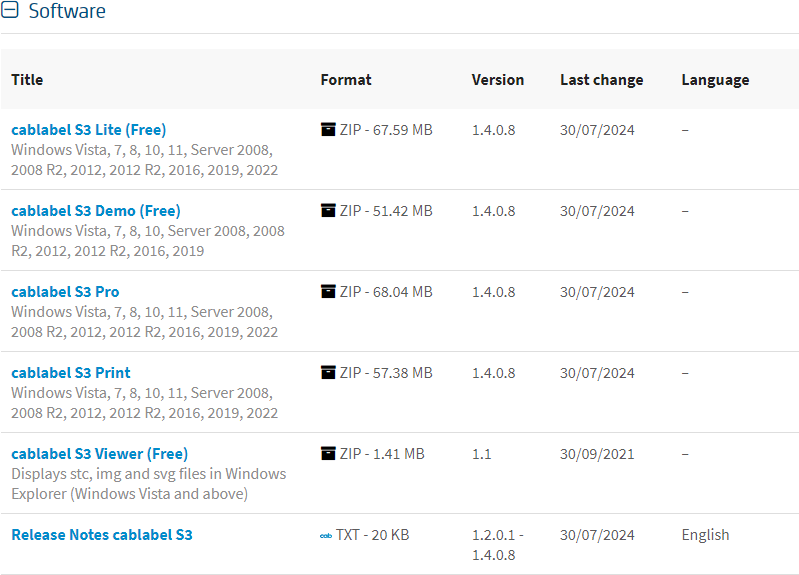
To update cablabel S3, download the Setup from our website, then start the install over your current version.

Attention: except in special cases, it is not necessary to uninstall the old version of the software, otherwise you risk losing your various settings.

The software installation files and the release notes, are available for download on the cab website from menu:

Or from menu:

Downloads

Automatic label saving (*.bak files)

Did you know it? By default, cablabel S3 Lite and Pro automatically creates a backup copy of the previous state of a label.

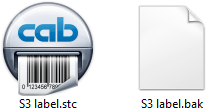
The backup occurs, when saving a file with the same name in its original folder, after any modification made in the label. For example following a change in the designer, the layout and the settings of the label or after printing the label and uploading it on a memory media of the printer.

*.bak file

So, the previous state of the label is first copied and saved in the *.bak file, then the current modified state of the label is saved as usual in the *.stc file.

Notice: if not all file name extensions are visible in Windows, it is first necessary to allow their view in the folder options of the file explorer.

Rename

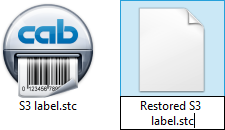
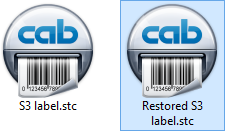
This backup allows to restore the previous state of the label, particularly in case of a handling error or file corruption. To do this, simply repeat the reverse process. That means rename the *.bak file and change its extension to *.stc, then validate the change.

Attention: this tip is valid for cablabel S3, but not necessarily for other software.

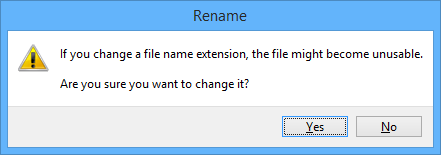
Confirm change

Windows shows then a warning and asks you to confirm the change. But in this specific context, there is no risk in doing so. When the file name already exists in the same folder, Windows offers to add a number to avoid duplicates.

*.stc files

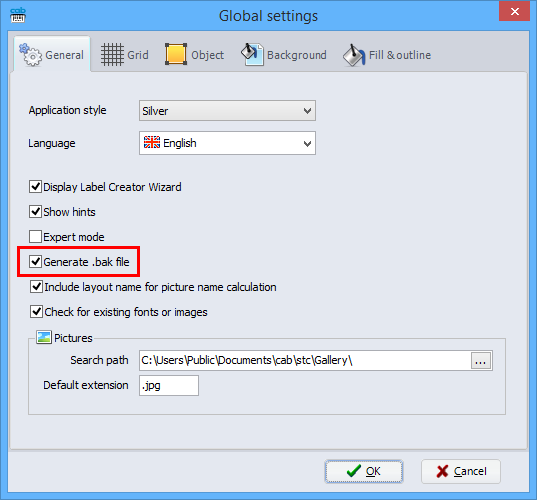
If necessary, it is possible to deactivate this functionality in the global settings of cablabel S3, by clicking on the checkbox “Generate .bak file”.

Global settings

Wrap-around labels for cable marking

The 1.4.0.5 version of cablabel S3 provides, among other things, new wrap-around labels samples, used for example with the WICON applicator for the SQUIX MP printers.
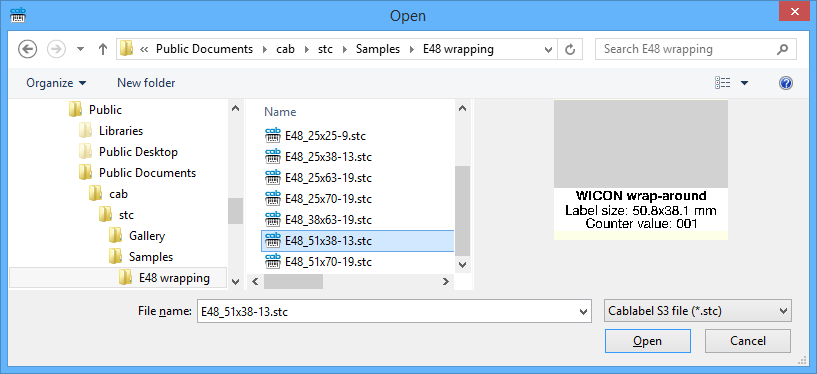
These are available in the samples folder provided with the software, at following location:
C:\Users\Public\Documents\cab\stc\Samples\E48 wrapping

E48 label samples

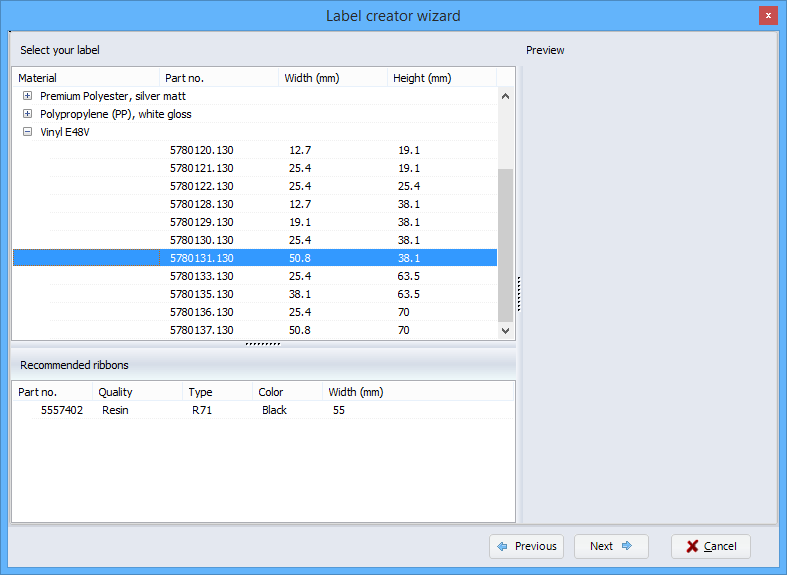
The label creator wizard has also been enriched with these new formats, showing their dimensions and part numbers, as well as the recommended transfer ribbons.

Label creator wizard

To update cablabel S3, download the Setup from our website, then start the install over your actual version:
cab label software cablabel S3

Connecting to a CSV data file

You want to use the data of a CSV file in cablabel S3 Pro? Here are the main steps to configure this specific connection.

Attention: Microsoft Office associates for example the CSV files with Excel, although it is not the same format as XLS or XLSX files. For this reason, it is not possible to use in cablabel S3 Pro an Excel connection to connect to a CSV file.

  1. Prepare the host directory of the CSV file

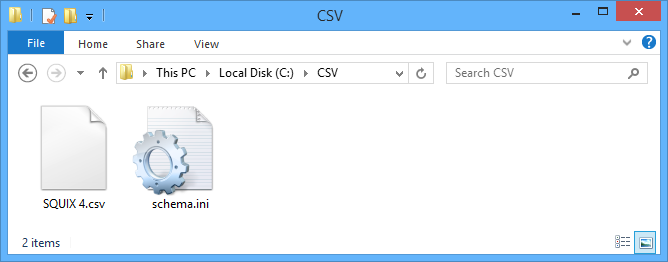
Define the folder hosting the CSV file, then copy or create the “schema.ini” file in this same folder.

Host directory

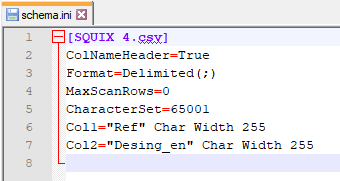
The “schema.ini” file, which can be modified with a text editor, contains the structure of the CSV data file and must always remain in the same folder as this one.

schema.ini
  • [filename.csv] ⇒ Name and extension of the data file.
  • ColNameHeader ⇒ “True” or “False” to indicate whether or not the 1st row of data contains the column names.
  • Format ⇒ Character that delimits the columns. For example “TabDelimited” for the tab character, “CSVDelimited” for the comma or “Delimited(;)” for any other character except double quotation marks (").
  • MaxScanRows ⇒ Number of rows to scan to determine the column types, with “0” to scan the whole file.
  • CharacterSet ⇒ Encoding of the CSV file. For example “ANSI” by default or “65001” for UTF-8.
  • Coln ⇒ Name of column “n” as well as the type and the length of its data. For cablabel S3 Pro, raw data in text form should be preferred.
  1. Configure the ODBC Data Source Administrator in Windows

Start the tool “C:\Windows\SysWOW64\odbcad32.exe” for Windows in 64-bit or “C:\Windows\System32\odbcad32.exe” for Windows in 32-bit.

odbcad32.exe

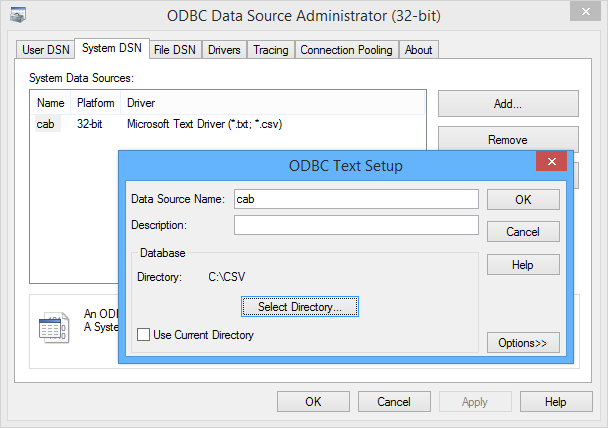
Then add a new “System Data Source” and select the driver “Microsoft Text Driver (*.txt ; *.csv)”.

ODBC Data Source Administrator
  • Data Source Name ⇒ Enter a free name.
  • Description ⇒ Optional.
  • Directory ⇒ Uncheck “Use Current Directory” and “Select Directory” prepared in step 1.
  1. Configure the connection string in cablabel S3 Pro

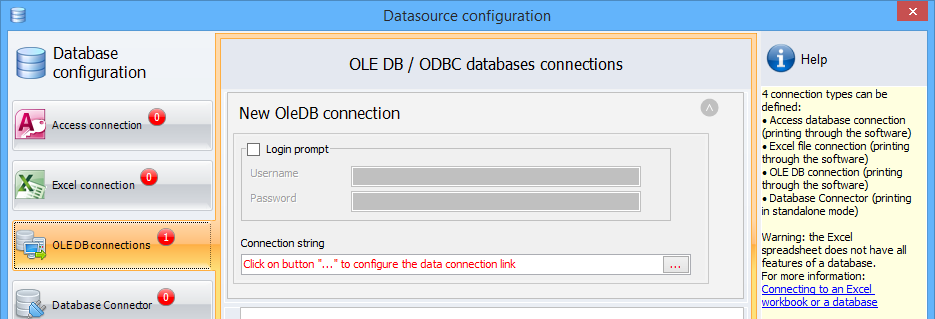
Add in the label an OLE DB connection and click on button “…” to start the connection string wizard.

Connection string

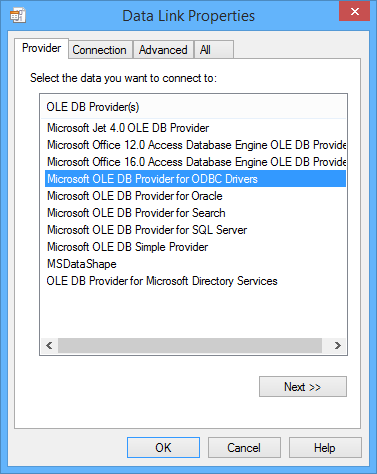
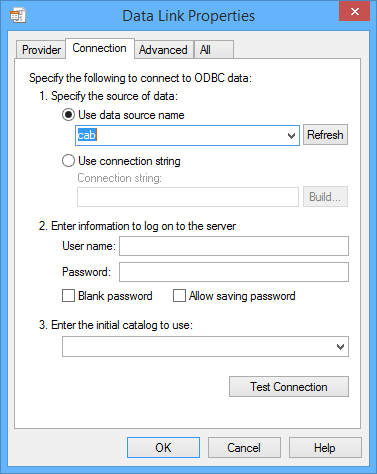
Then select the provider “Microsoft OLE DB Provider for ODBC Drivers” and use the data source configured in step 2.

Provider
Connection

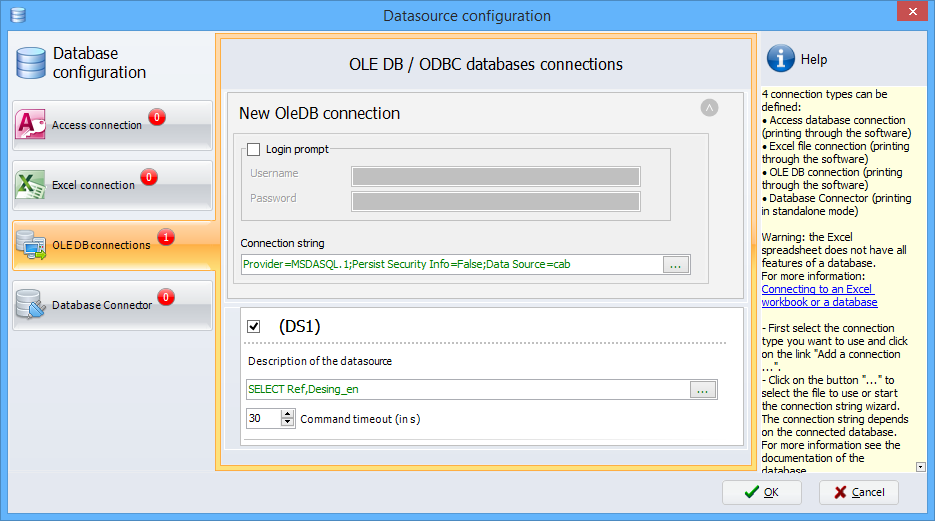
Finally create the data query as usual. After that, the data from the CSV file can be used by the objects of the label.

Data query

Download example file for cablabel S3 Pro:

RFID labels

The 1.4.0.3 version of cablabel S3 Pro and the subsequent version, provide all the functionality needed to support the RFID printers and labels. Here is an overview of the new possibilities described in the Operator’s manual of software.

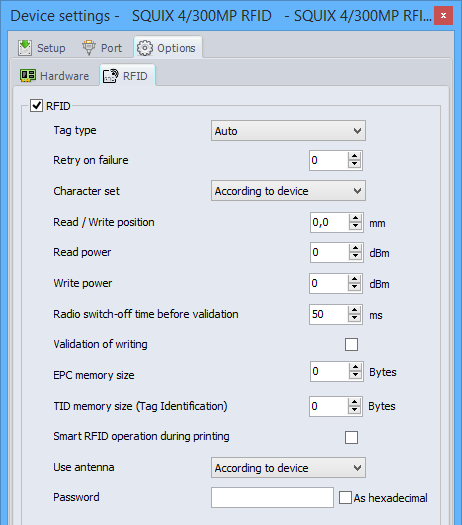
  1. RFID options

This new tab specific to RFID devices, allows especially to configure the read / write position and power, as well as to specify the access password when the RFID labels are protected.

Options of the RFID devices
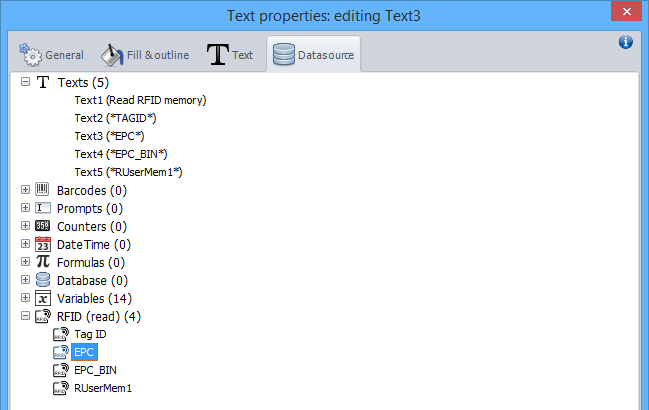
  1. RFID data (read)

This new datasources allow to read the data of an RFID label, which can be located in the TID memory (Tag Identification), the EPC memory (Electronic Product Code) and the User memory. And as with the other available datasources, they can be used in the different objects of the designer.

RFID datasources (read)
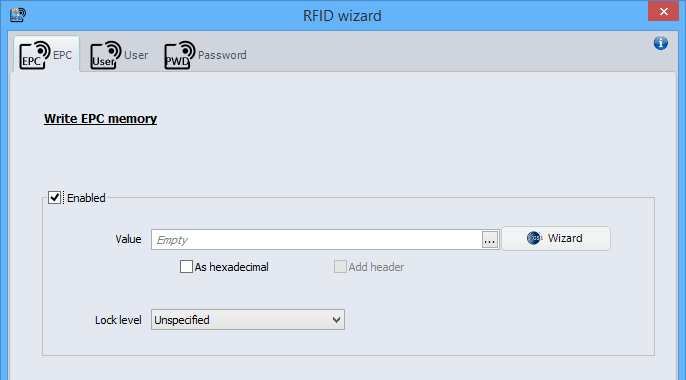
  1. RFID wizard

This new plugin allows to configure the writing of EPC memory, with a free content or a standardized content from the EPC GS1 wizard, as well as to configure the reading and writing of user memory.
It is also possible to set the access password, to protect the RFID labels, the password of the “Kill” function, which allows to permanently disable an RFID label and to specify the lock level of the different memories.

Notice: in order to benefit from the features provided by the addition of this new plugin, a reactivation of the software is required after its update.

How to customize the human readable text of a barcode?

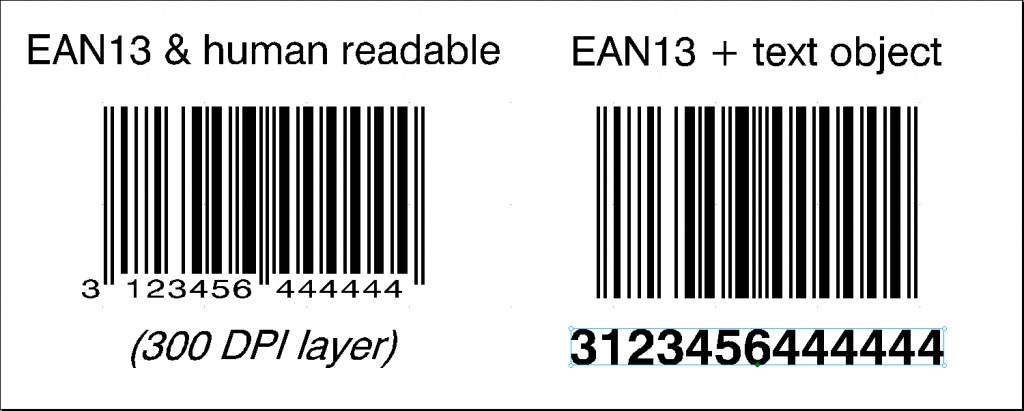
The human readable text is usually placed under the barcode, in order to reveal us its content in a readable way. It is an integral part of the barcode and adapts automatically according to the dimensions defined for the object in the designer of cablabel S3. It is therefore not possible to move or configure this human readable text directly.

Here is how you can separate and customize the human readable text of a barcode:

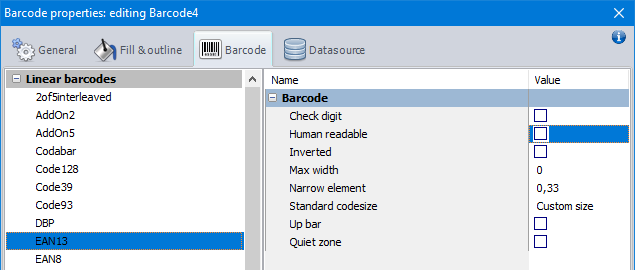
1. Disable first the human readable text in the barcode properties.

Barcode properties

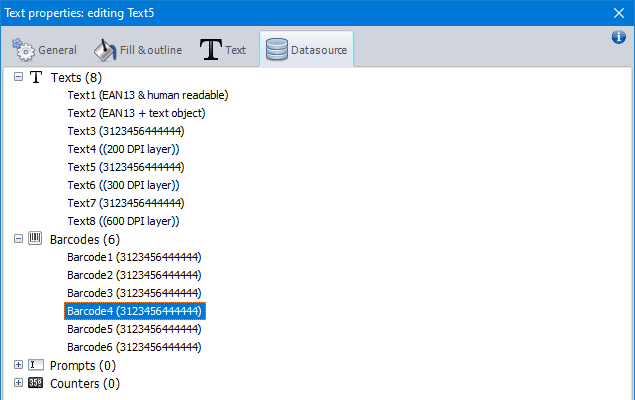
2. Then create a new text object, having as datasource the barcode. This text object is now linked to the barcode and automatically takes its value.

Text datasource

3. Finally move or configure this new text in the label as you wish.

New text object

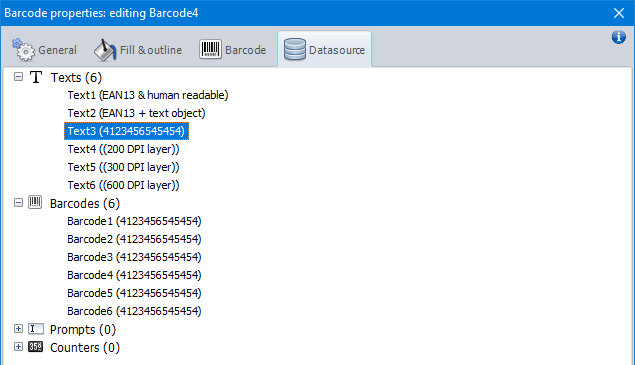
To go further, it is also possible to reverse the roles of the barcode and the text object. Namely, to select this time the text object as datasource of the barcode. This allows especially to have a single datasource in common for all the barcodes of this label, thus avoiding the individual modification of the value in the properties of each barcode.

Barcode datasource

Attention: in this second case, the value entered in the text object must comply with the capabilities of the barcode. Otherwise it may cause errors in cablabel S3 or on the printer, because the barcode may not be displayed on the screen or printed on the label.

Download example files for cablabel S3 Lite and Pro:

Picture gallery

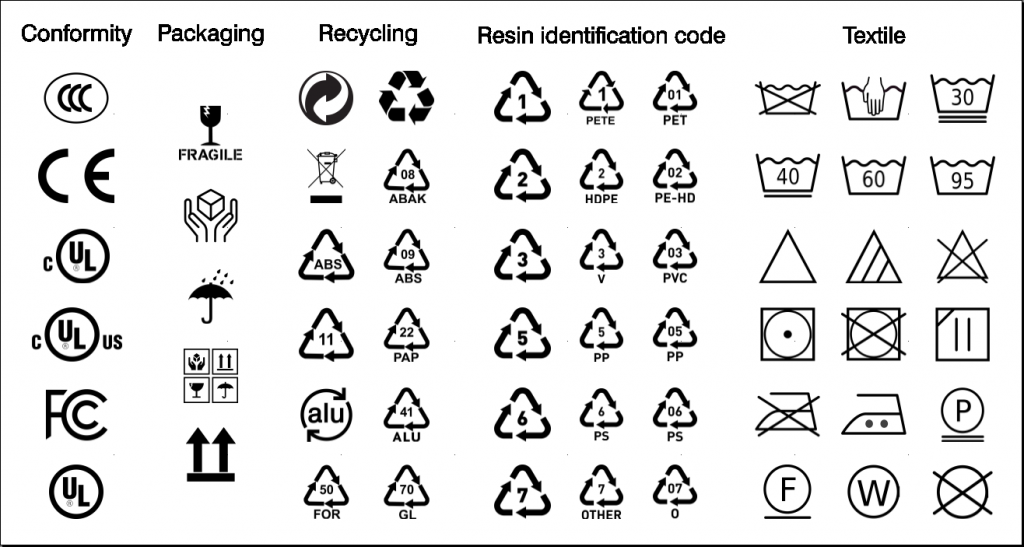
In addition to the GHS symbols, the latest versions of the cablabel S3 also contain other vector images in SVG format. These are used especially for conformity, packaging, recycling, resin identification and textile.

Label Pictrograms.stc

All pictograms provided with the software, are available in the picture gallery at following location:
C:\Users\Public\Documents\cab\stc\Gallery

Download example file for cablabel S3 Pro:

Create a QR code with a picture

It is possible to create a QR code with a picture, without altering its readability and its content. This is achievable thanks to its error correction system. Here is how you can design one with cablabel S3:

  1. Create first the QR code as usual.
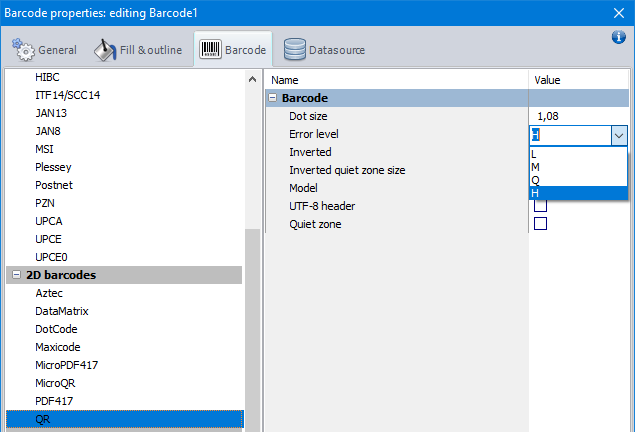
  2. And select in its properties, the highest error level “H”.
Error level
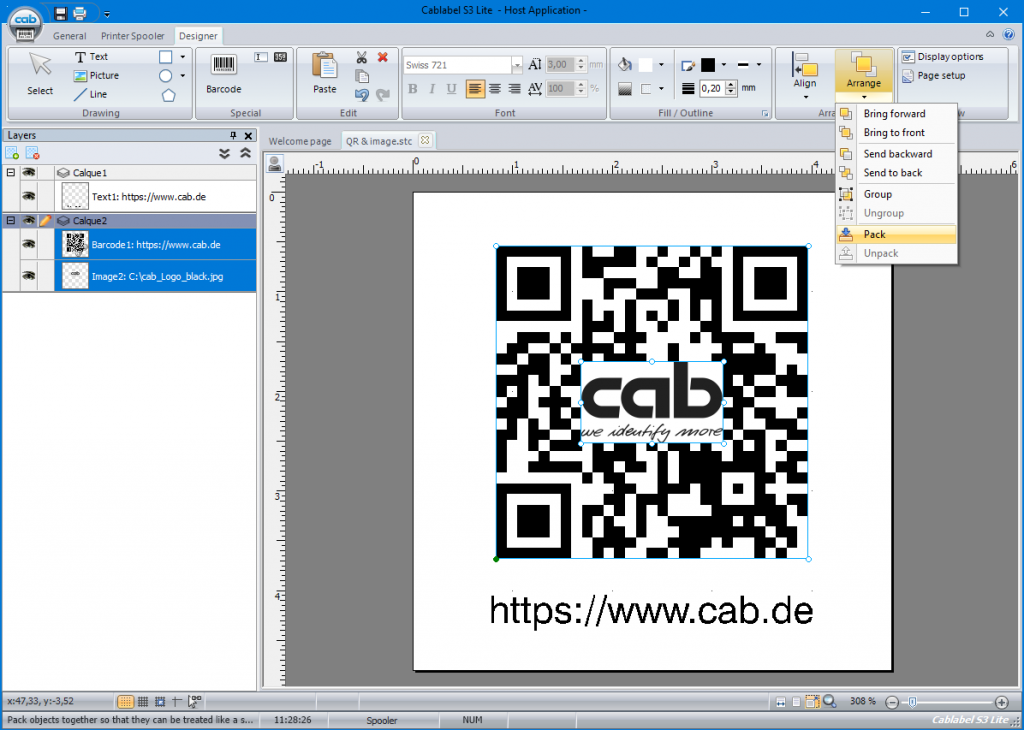
  1. Then insert the picture and place it above the QR code.
  2. Finally, select and “Pack” the QR code and the picture, to send the objects to the printer as one picture.

Warning: the picture must not hide the 3 squares in the corners, which are necessary for reading the code.

Pack the objects

Notice: it is also strongly recommended to print the label, to verify the readability of the QR code and the integrity of the data.

Download example file for cablabel S3 Lite and Pro:

Upload the content of a database in standalone mode

The 1.4.0.0 version of cablabel S3 Pro provides the possibility to upload the content of a database on a memory media (SD card, USB memory stick, internal memory IFFS…), to use it in standalone mode.

Attention: this feature is only available starting from X4 CPU printers.

Upload data


Before to perform this, you first have to create a label with a connection type of Access, Excel or OLE DB and a datasource used by the objects of the label, as if you want to print it from the software.

As an example, we will start from the label “printer_parts.stc” and its database “Devices.mdb”, available in the samples folder provided with cablabel S3 Pro.

Sample label

In this case, three steps are then necessary, in order to configure this label for the standalone mode:

  1. Create of a prompt field of standalone type, which will ask here for the article reference directly on the printer.
    The text object resulting from this prompt field can either be deleted or replace the original text linked to the article reference of the datasource.
Prompt field
  1. Change the query for the data used by the objects of the label and add a selection filter (SQL keyword WHERE) on the article reference.
    For this select in the list the previously created prompt field, to extract only the data matching to the entry in standalone mode.
Query builder
  1. Create a new query to specify all the data to be transferred in standalone mode.
    For this you need just to select the same fields from the database, as those used in the first query, but this time without the filter.

    Notice: the data from all the datasources created in the label are be transferred in standalone mode. But as in this case the first query is now filtered on a record, it is necessary to create this second query to select all the data to be transferred in standalone mode.
Database wizard

Finally save the label to a memory media of the printer as usually and check in addition the option to upload the data in standalone mode.


Good to know: the data transferred in standalone mode are saved in an SQLite file. This data file can for example be edited with the “DB Browser for SQLite” software.

Data file

Download example file for cablabel S3 Pro: